Conversion Tracking With Google Analytics 4 and Google Tag Manager
Complete Guide With Setup Process 2021-2022
Google Analytics 4 and Google Tag Manager provide a variety of tags for event tracking, including several options for conversion tracking.
Tracking conversions, otherwise known as goal tracking, tells you how effective your digital marketing initiatives are.
In this article, you’ll find a complete guide on how to set up different events and track conversions with the Google Analytics 4 and Google Tag Manager tools.
Google Analytics Conversion Tracking Guide List of Content:
- Step 1. Set Up Your Google Analytics Account
- Step 2. Add Analytics Tracking Code To Your Website
- Step 3. Create A Conversion Action. Set Up Conversion Goals
- Step 4. Ways To Find The Conversion Data In Google Analytics 4 Reports

1. Set Up Your Google Analytics Account
Google Analytics 4 Conversion Tracking. How to setup and track conversions in GA4
1.0. Navigate to Google Analytics website ➜ click Start measuring

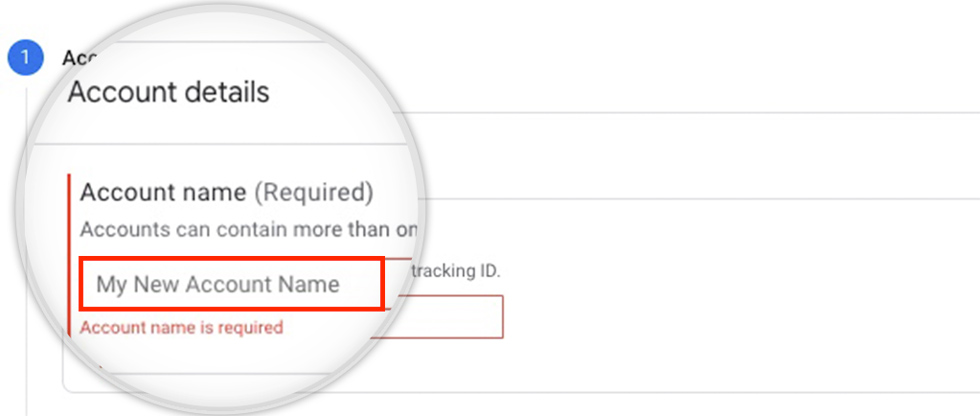
1.1. Enter Account Name ➜ click Next
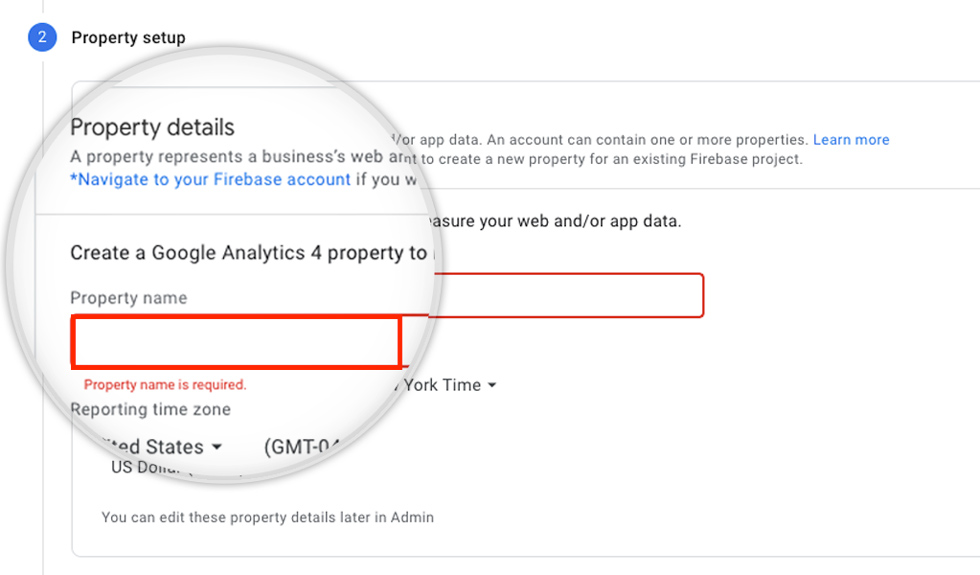
1.2. Add property details ➜ click Next
1.3. Add Business Information ➜ click Create

1.4. Accept Google Analytics Terms of Service Agreement ➜ click Create

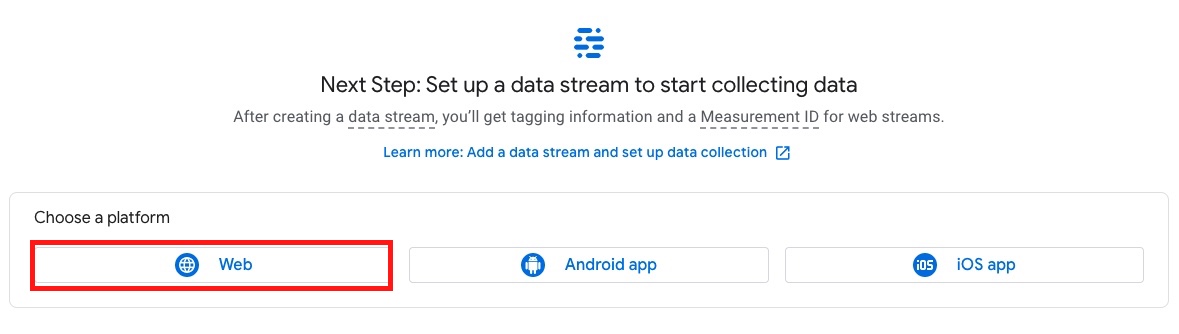
1.5. Set up a data stream to start collecting data ➜ select  Web
Web
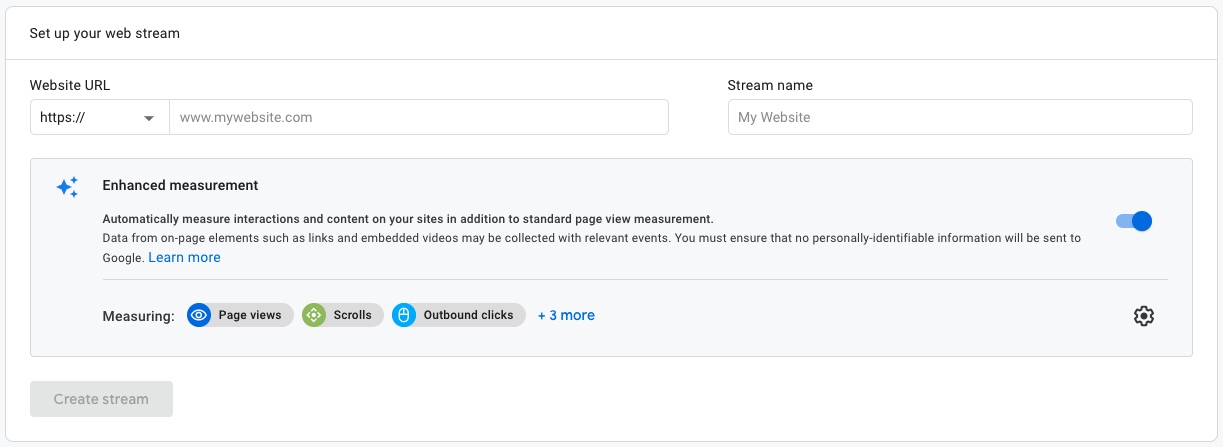
1.6. Set up your web stream ➜ enter your website’s URL ➜ enter the stream’s name
2. Add Analytics Tracking Code To Your Website
Add the Analytics tag to your website to begin seeing data on your property.
2.0. Copy the global site tag into the <head></head> section of your website
![]()
3. Create A Conversion Event. Set Up Conversion Goals
Google Tag Manager can help you to create custom events and set them as a conversion for performance tracking.
3.0. Navigate to Google Tag Manager Page ➜ Create Account

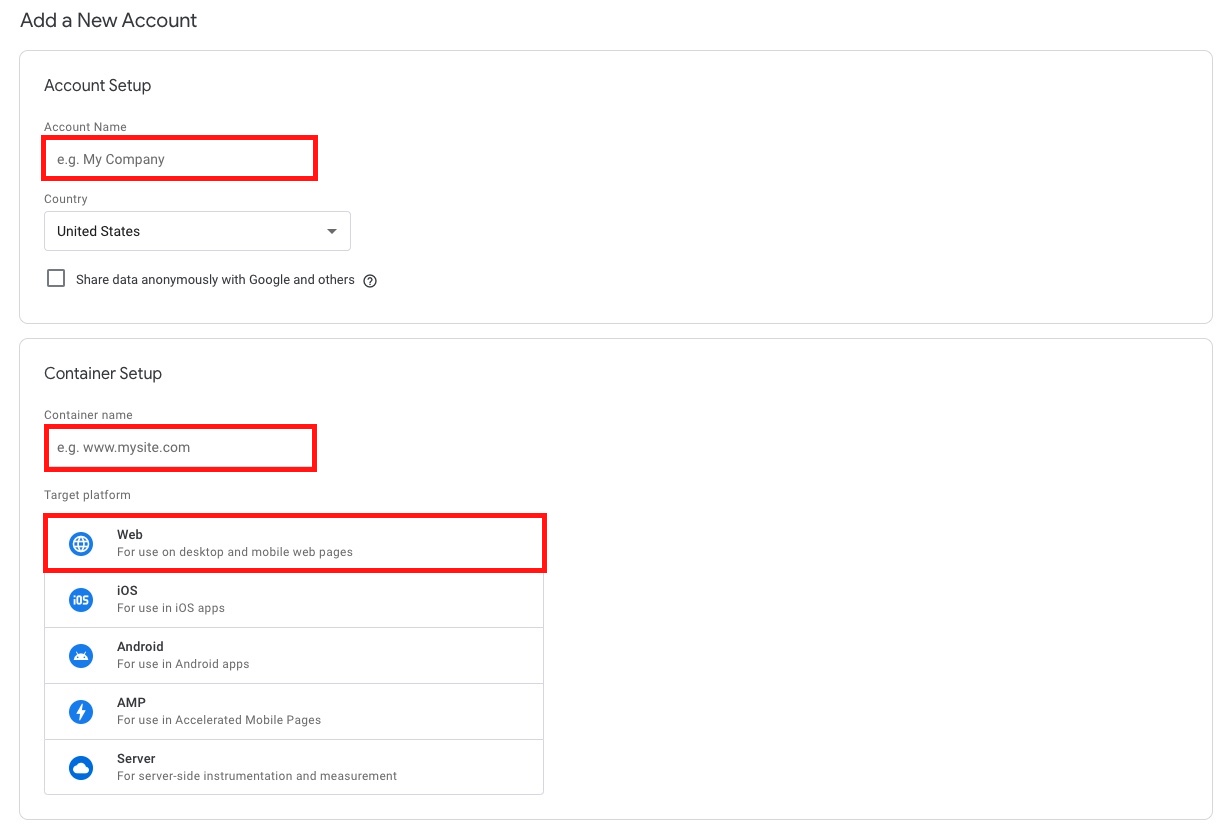
3.1. Add a New Account ➜ Enter account name ➜ Enter Container name (website) ➜ Choose the platform Web ➜ accept the Google Tag Manager Terms of Service Agreement
3.2. Install Google Tag Manager

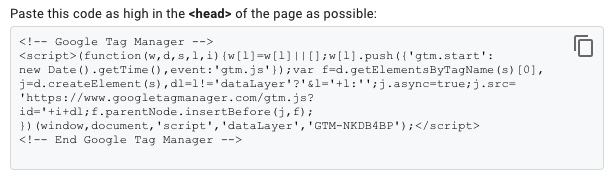
3.2.1. Paste the first code as high in the <head> section of your web page as possible:
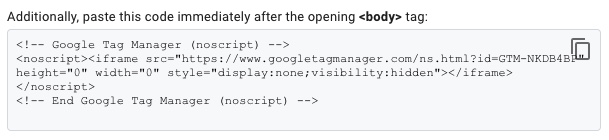
3.2.2. Additionally, paste the second code immediately after the opening <body> tag:
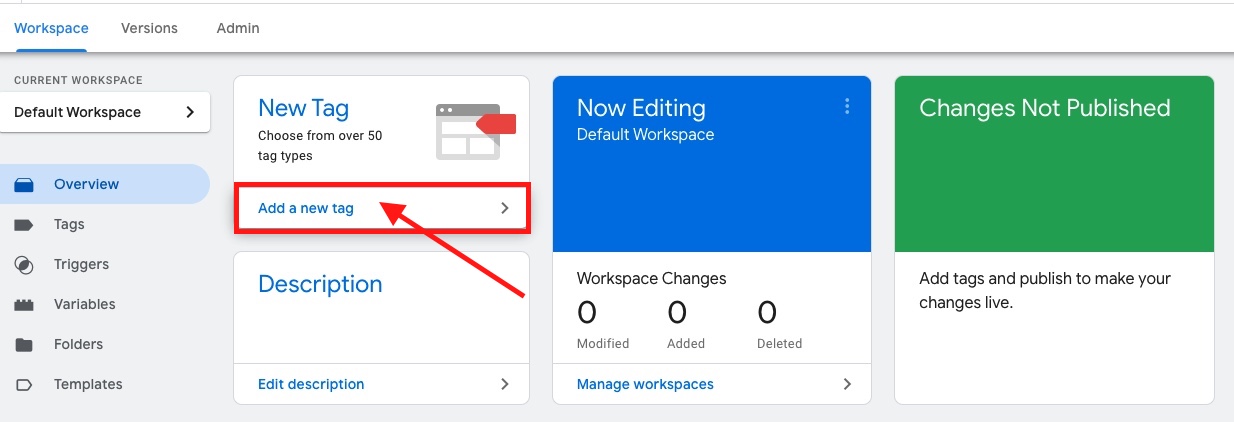
3.3. Create a New Tag ➜ Name your tag

First, create a configuration tag with Measurement ID from your Google Analytics 4
3.3.1. Choose the Google Analytics: GA4 Configuration ➜ In the measurement ID field enter the ID of your Google Analytics 4 property

Where to find the measurement ID of your Google Analytics 4
3.3.2. Navigate to the Admin Menu➜ Property column ➜ Data Streams

3.3.3. Copy your Measurement ID
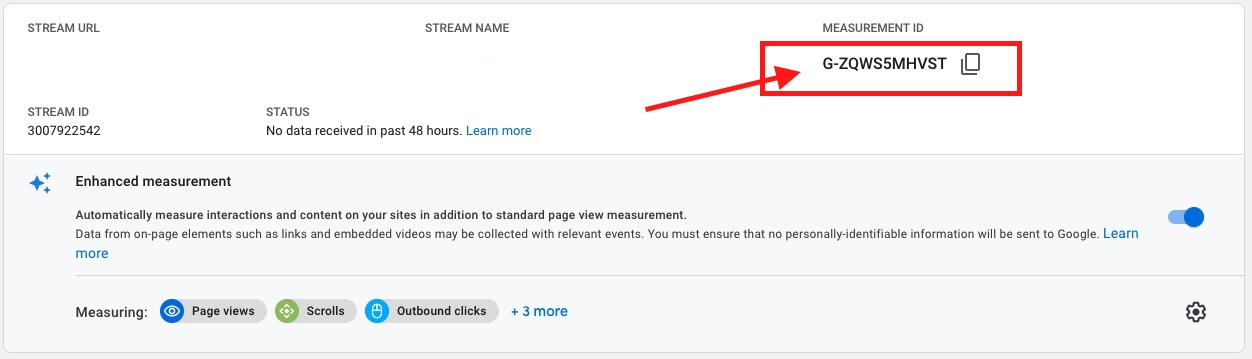
3.3.4. Paste your GA4 Measurement ID in Google Tag Manager’s Configuration Tag
Click Save Tag
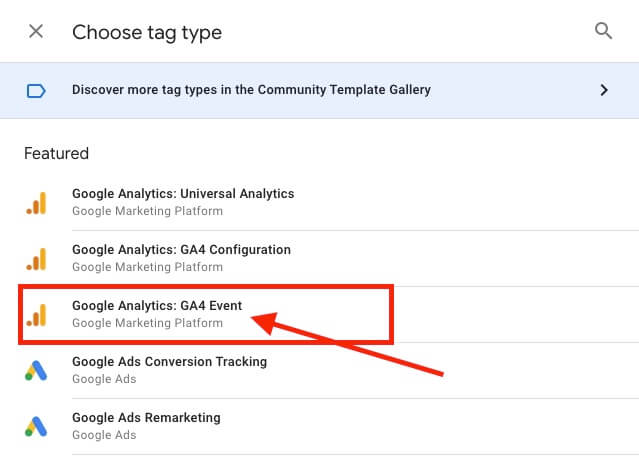
3.4. Create New GA4 Event Tag ➜ Select Google Analytics: GA4 Event
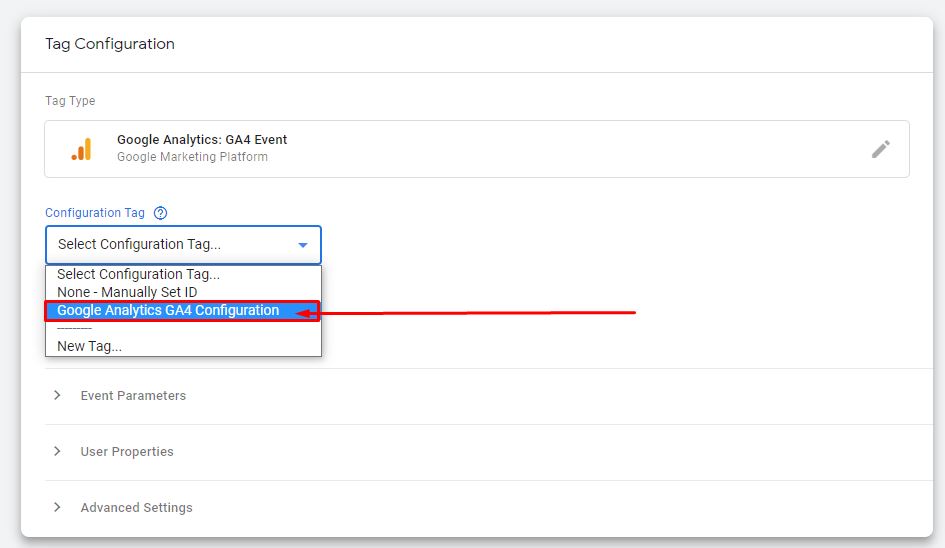
3.4.0. Configuration Tag ➜ Select the Google Analytics GA4 Configuration tag you’ve created previously
3.4.1. Choose a trigger to fire the tag

Let’s say you want to set an event when a visitor signs up for an email subscription.
In this case, you may want to fire the lead event when the visitor clicks on the submit button.
To accomplish this goal, first, go to your website and inspect the submit button of your subscription form to get the button’s class.
3.4.2. Make a right-click on your website’s subscription form ➜ click Inspect
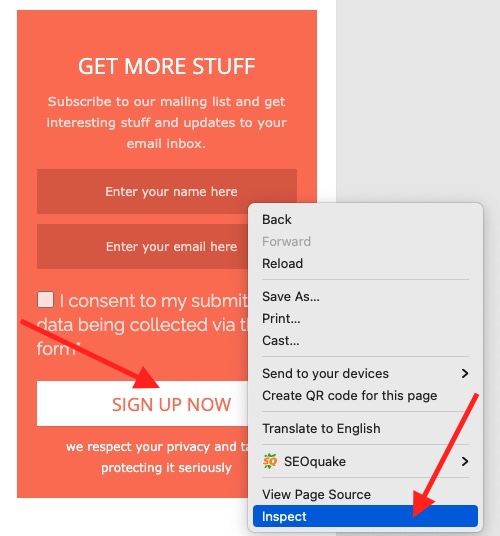
3.4.3. Copy the “submit” class of your subscription form

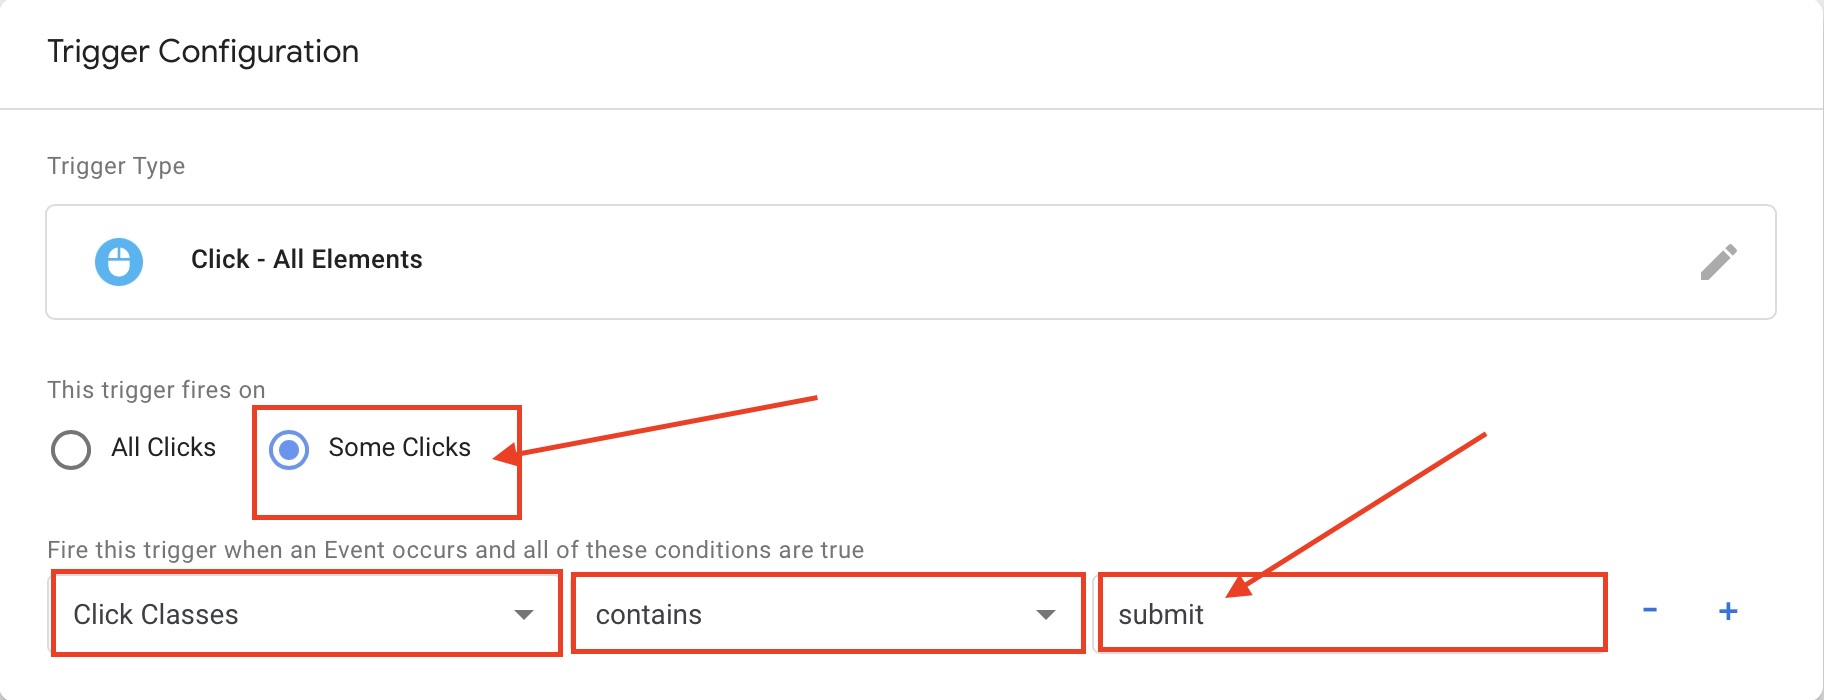
3.4.4. Go back to your Google’s Tag Manager Trigger ➜ select Click: All Elements

3.4.5. Then select the Some Clicks option ➜ in the conditions section choose the Click Classes option ➜ contains ➜ paste the “submit” class from your subscription form ➜ click Save
Click: All Elements
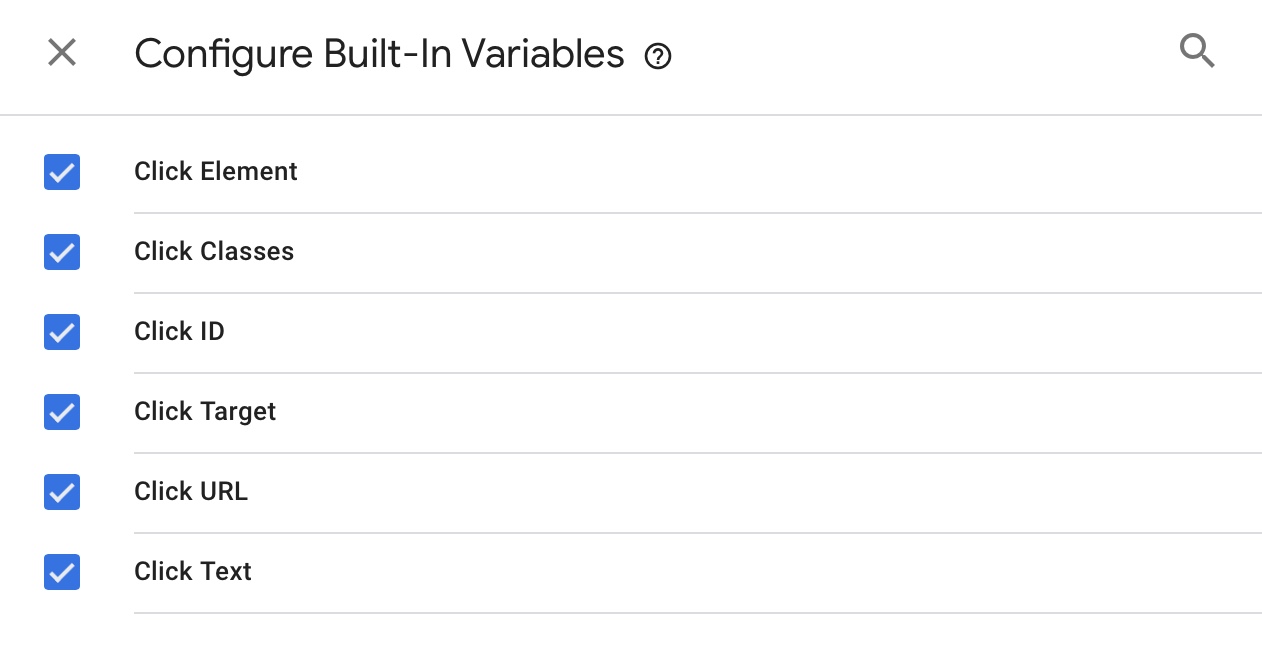
3.4.6. Go to the Variables section ➜ click Configure ➜ select all the Click options
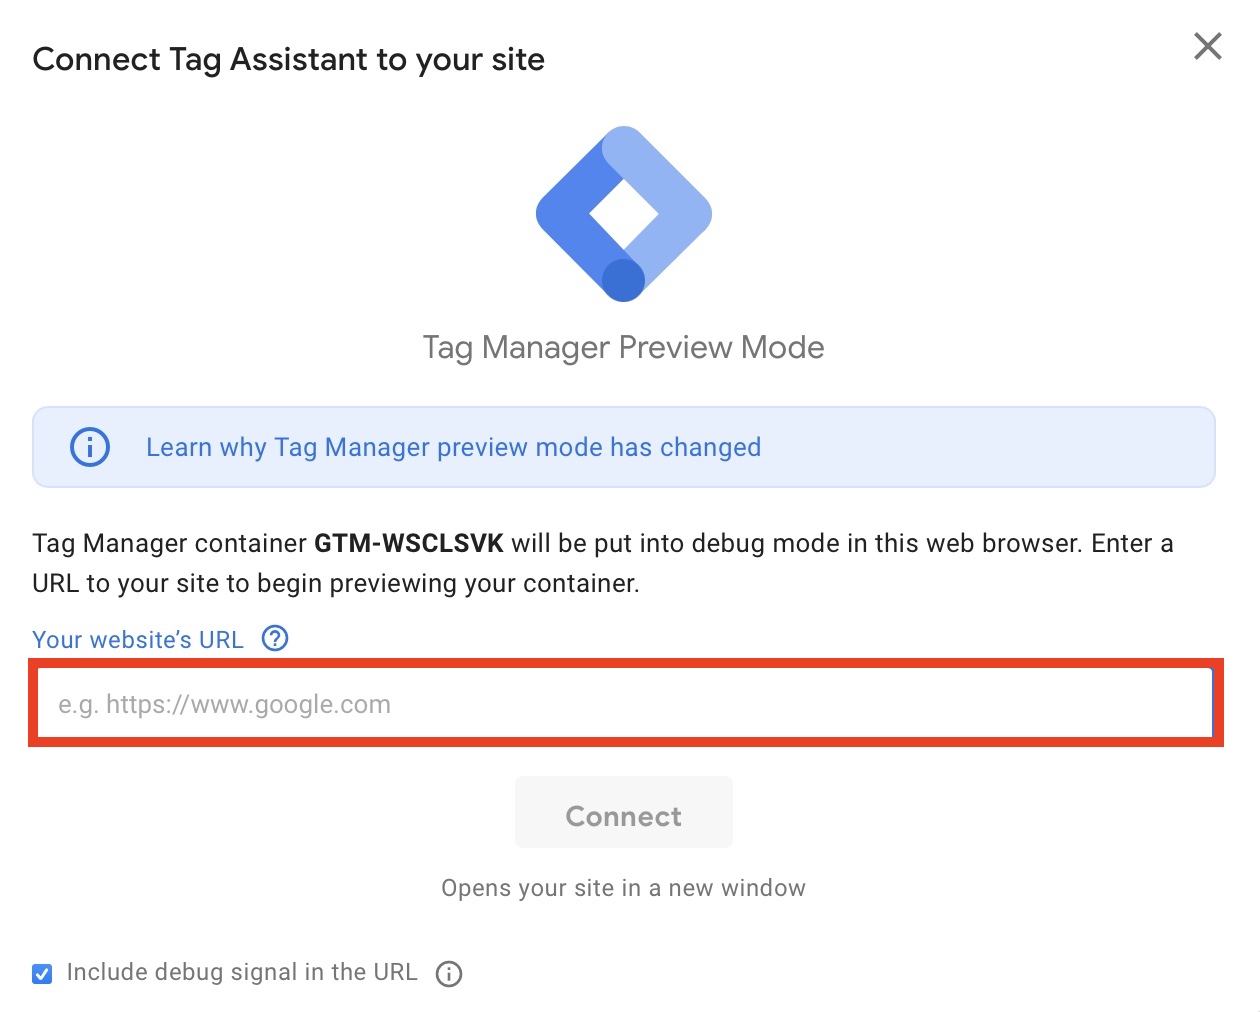
3.4.7. Click on the Preview button ➜ enter your website’s URL ➜ click Connect ➜ after the Debug page will be loaded click Continue and navigate to the Debug window


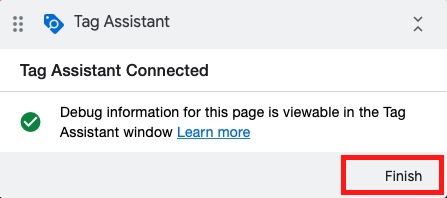
3.4.8. In the Debug Preview mode window complete your Form and click the Submit button ➜ return to your Google Tag assistant page and check if the event has been fired

3.4.9. Finish the Debug preview session and publish all the changes
Now after some time, all the fired events will be appearing in your Google Analytics 4.
To set specific events as conversions to track them later navigate to:
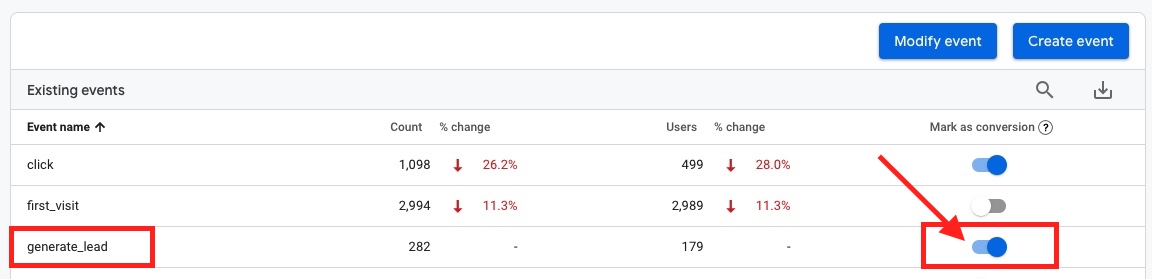
3.5. Configure ➜ Events ➜ click “Mark as conversion” on the desired events

4. Ways To Find The Conversion Data In Google Analytics 4 Reports
The conversion data is available in various places of the Google Analytics 4 interface. To name a few (but this list is definitely not complete):
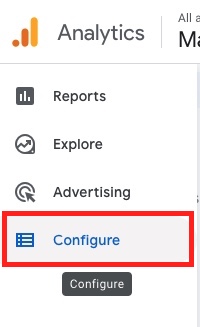
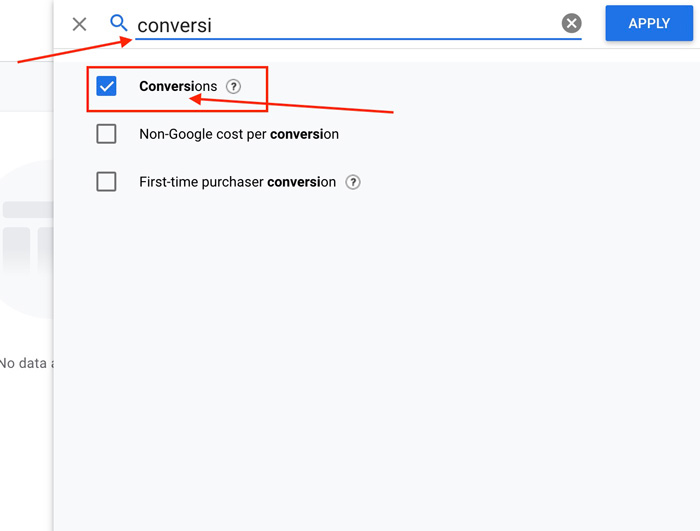
- Configure ➜ Conversions section in the left sidebar menu. This place is like an overview of all events that you have marked as conversions.
- Acquisition ➜ Traffic Acquisition and then there is a column Conversions in the table
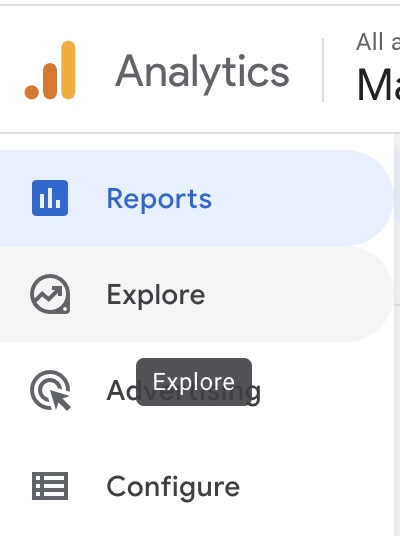
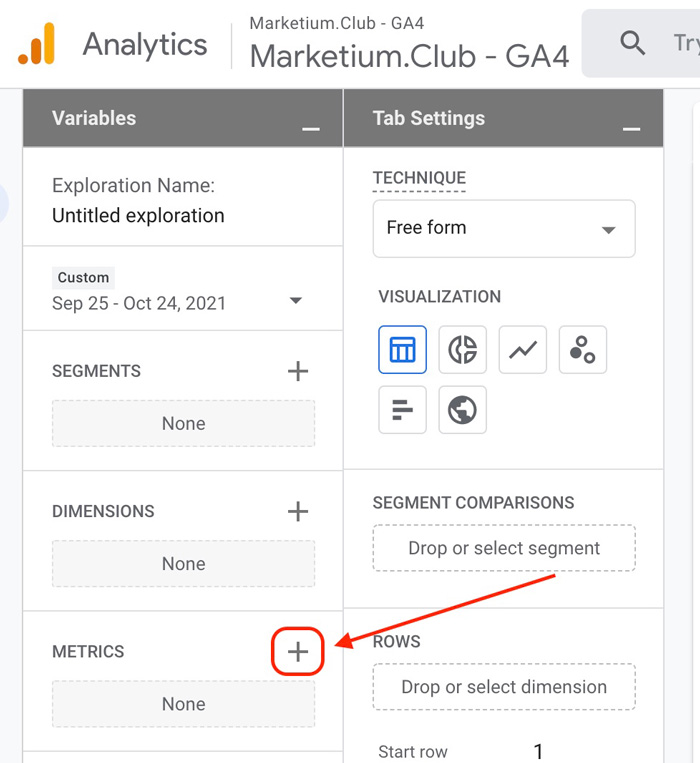
- Explore. ➜ Include the Conversions metric in the Exploration report:
P.S. If you have any questions or suggestions, please reach out to me via the comments below!